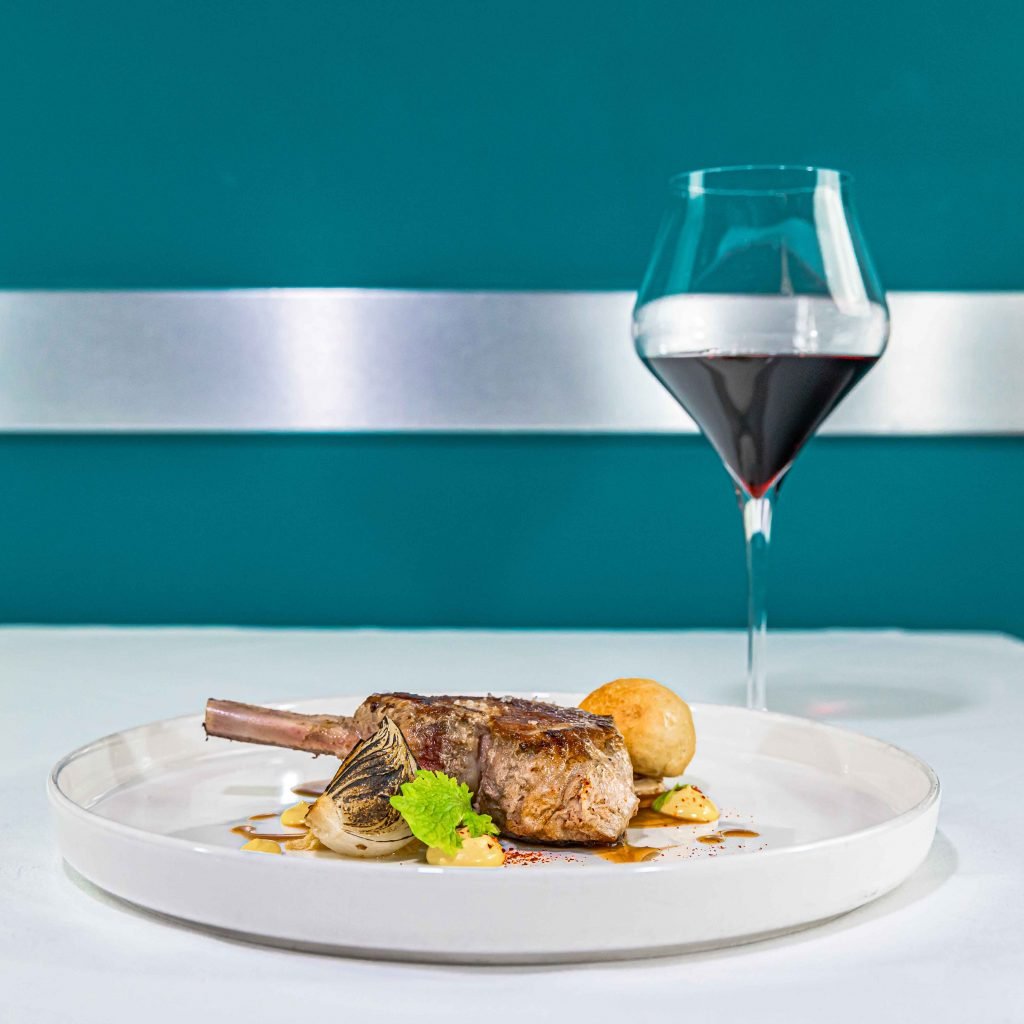
Plan a menu shoot from the final layout backwards. A delivery thumbnail needs a dish that reads clearly at a small size. A printed menu may need matching angles for an entire section, while a website banner needs room for text. Send the layouts before the kitchen starts plating.
Sequence dishes by how they hold
Photograph a salad while its leaves still have shape, a frozen dessert as soon as it is plated and a sauce after the chef checks the finish. Group dishes that use the same table setting so the kitchen can send one plate at a time.
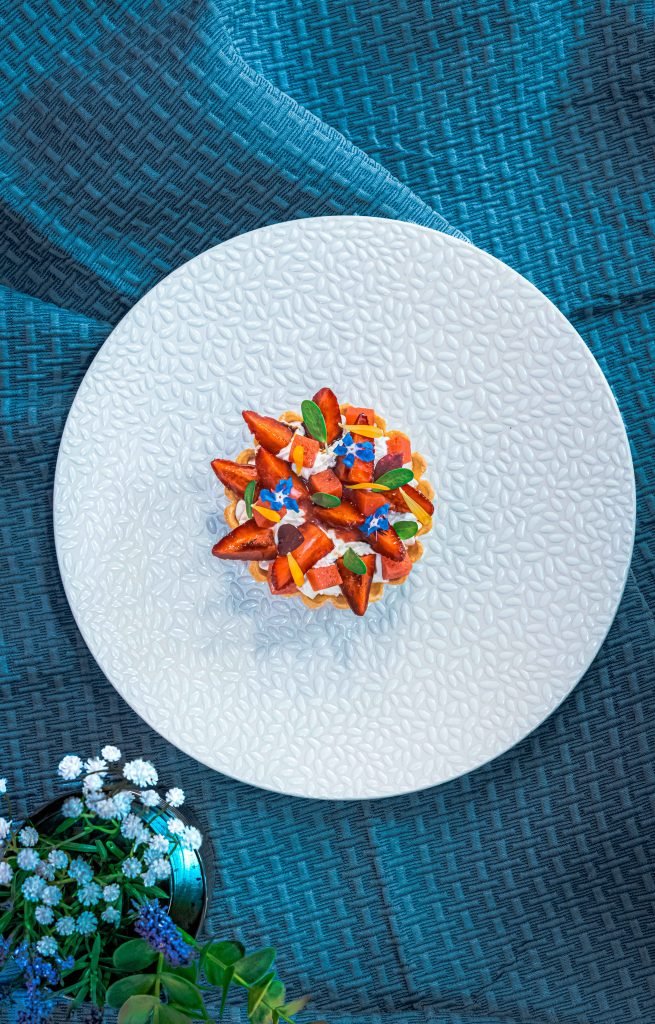
Keep portions and colours believable
Use the crockery, garnish and portion customers will receive. A side view suits a layered sandwich, while an overhead frame can explain a sharing platter. When two dishes look similar, show the ingredient or texture that distinguishes them.
One dish across three menu formats
If the same dish will feature in a campaign, plan the shots for a short video advert before the plate leaves the kitchen.
Take a burger with a tall stack of fillings. A low side view explains its layers on a printed menu. A slightly higher angle might keep the burger and side dish legible in a square delivery thumbnail. For the restaurant’s website header, the same plate could sit off-centre with clear space for a headline. Show the chef the three crops while the first plate is fresh. Agreeing on the framing at that point makes it easier to maintain consistency when the remaining dishes arrive.
Build a dish list with the kitchen
Start with the dishes that must appear in the finished material. Include the menu name, any important garnish and the person who can approve the plate. A written list helps the kitchen prepare in a sensible order and reduces the chance of missing a key item.
Group dishes that share crockery or a similar setup. This can make the session more efficient, but do not leave a fragile dish waiting simply to preserve the order. The chef and photographer should agree when each plate is ready. One fresh dish at a time is usually easier to manage than a table full of food losing its intended appearance.
Confirm whether the shoot happens during service or in a separate window. A working kitchen has priorities beyond the photographs. Nominate one contact to coordinate plates and changes so the photographer is not interrupting several members of staff for the same information.
Choose the visual style for the restaurant
Look at the way the restaurant already presents itself. A simple casual menu and a formal dining experience may call for different backgrounds, props and framing. Bring examples of the website or printed material so the photographs fit the business rather than becoming a separate visual style.
Select tableware that customers will recognise. If the dish normally arrives on a particular plate, that is often the most useful starting point. Extra props should explain the setting or ingredients, not compete with the food. Keep the table surface clear enough for the main dish to remain obvious.
Decide whether people belong in the photographs. A hand serving a plate can add scale and activity, while a clean isolated dish may suit a menu grid. These are different compositions, so plan both if you need them rather than trying to crop a busy scene into a simple product image later.
Show texture and structure clearly
Choose an angle that reveals the dish's most useful features. A layered sandwich may need a lower view, while a sharing platter may be easier to understand from above. The correct choice depends on what the customer needs to see, not on applying the same angle to every plate.
Look at how the light shows surfaces. A sauce, crisp edge or smooth dessert each reflects light differently. The photographer can adjust the setup while the chef checks whether the food still looks as intended. Small changes to the plate position may help more than adding another decorative element.
Keep the presentation believable. Portions, ingredients and garnish should match what the restaurant plans to serve. Editing can support a clear photograph, but it should not create a dish that customers cannot order. Confirm the final presentation with the person responsible for the menu before moving to the next item.
Plan images for more than one layout
A dish may appear in a website header, a menu section and a small delivery thumbnail. Each format shows a different amount of the frame. Share those layouts before the shoot so the photographer can leave suitable space and choose useful orientations.
For thumbnails, test whether the dish remains recognisable at a small size. A complex table scene may become difficult to read. A closer, simpler view can work better in that context. For a banner, the opposite may be true: extra background space can allow a headline to sit comfortably beside the food.
Do not assume that every crop can come from one photograph. A tall dish may lose its shape when forced into a narrow horizontal frame. Making a separate composition while the plate is ready is often the clearest solution. Note the required versions on the dish list so none are forgotten.
Coordinate approval and future menu changes
Choose one person who can approve presentation during the session. They should check the dish name, ingredients and any details that matter to the restaurant. This is easier while the plate is still available than after the kitchen has moved on to another item.
Keep a simple record linking each photographed dish to its menu name. Similar plates can be difficult to distinguish later, especially if several versions differ only by a sauce or filling. Clear file references help the designer and restaurant team use the correct image.
Finally, explain whether the photographs are for a stable menu or a short campaign. If dishes change often, discuss a consistent style that can be continued in a later session. Wave Photo Malta can plan food photography around the actual menu, kitchen workflow and publication formats. A useful set of images should help customers understand what they can order while giving the business material that is straightforward to place in its website, menus and promotional designs.
Make a final menu consistency check
Before approving the gallery, compare the selected photographs with the menu that will accompany them. Confirm that names, portions and visible ingredients match the intended dishes. Look for accidental inconsistencies in plate orientation, background or crop across items that will appear beside one another. A consistent menu grid helps customers compare dishes, while a campaign image can use a more individual composition. Keep those roles clear when selecting files. Ask the restaurant contact to resolve any uncertainty while the shoot details are still fresh, rather than leaving a designer to guess which of two similar plates belongs to a particular menu item.
Frequently asked questions
What should the kitchen prepare before the photographer arrives?
A dish list, serving plates and one person to approve the presentation. Flag allergens or ingredients that staff need to handle carefully, and mark the dishes that must appear in the first set of photographs.
Should all dishes use the same angle?
Use consistent views where customers compare similar dishes, then change angle when height or layers are what distinguish an item.
Plan your project with Wave Photo Malta
Send Wave Photo Malta the menu, approximate dish count and where the pictures will appear. Email Wave Photo Malta.
Explore our photography portfolio. Read our related guide: Why Professional Brand Photography Helps Businesses in Malta.